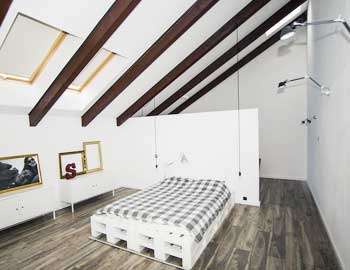
Soffio wall heating panels do not require specialized assembly or expensive transport.
We can install panels at every stage of finishing or renovation works on load-bearing walls, partition walls as well as on sloping surfaces of the attic.
We hide collectors in a screed or we place them at floor level, covering with baseboards.
All works associated with assembly are limited only to a few simple steps and you can perform them on your own, according to the instructions below.
Assembly of Soffio wall heating panels does not differ from the systemic assembly of plasterboards.
In this case, we can use techniques of installation on a steel or wooden grid or glue directly to the wall using a gypsum adhesive.
While mounting panels, we connect connectors of collectors in series through clamp with the use of reinforced plastic Ø16mm pipes, creating a separate water circuit loop of central heating system for each room.
We invite you to watch an instructional video.
Before you start the installation, plan the arrangement of heating panels in the given room.
* Remember that one panel has a heating power of up to 200 W, which is sufficient for a surface of 3m2.
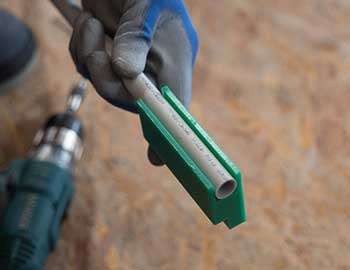
Prepare sections of Ø16 mm pipe with appropriate lengths for execution of connections (for adjacent panels, the section should have a length of 95 mm) and perform internal chamfers at the ends of pipes with the use of a systematic tool.
Put 4 pieces of O-rings 10x1 made of EPDM (supplied together with panels) on each connector of a collector.
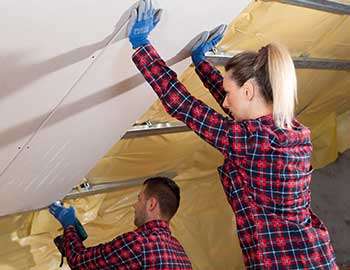
Attach the first plate to the grate using sheet metal screws or directly to the wall using a gypsum adhesive.
*While using a systematic Soffio spacer, we ensure achievement of a distance of 13 mm between the floor and the collector.
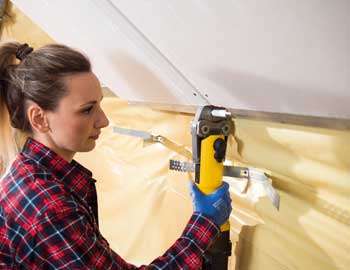
Slide Ø16 mm pipes onto the connectors along with the clamping sleeve and press using the U-type press machine for Ø16mm pipes*.
*We recommend using the press machine SOFFIO Mouse 2016.
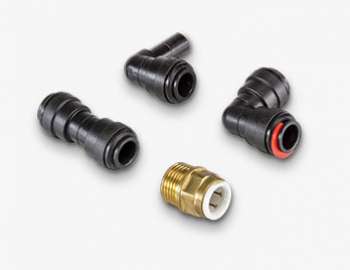
To join the Soffio panels, commercially available push-fit couplers can be used. Collectors of adjacent panels should be joined with two-sided couplers, while the connection with the water installation should be made with the use of a one-sided adapter coupler, finished with a standard ½” male thread.
Collector studs of panels to be assembled with the use of push-fit couplers are smooth and do not require fixing of additional o-rings.
Perform the connections of subsequent panels using the same method, creating a water circuit loop of the central heating system, ending with a hydraulic tightness test.
Complement the wall cladding being created on an ongoing basis with standard plasterboards with a thickness of 12.5mm.
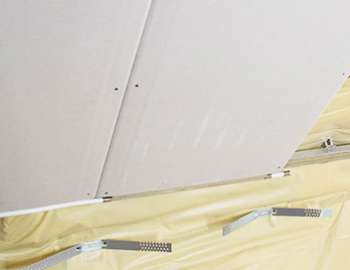
Finish the surface of wall cladding with methods used in dry constructions.
